
#82 Weekly Wednesday ~ Super Easy Fun Fold Card
Hello my stamping friends. I hope you are staying warm. The temperature is pretty cold in St. Louis and we have a ton of snow on the ground. I am guessing anywhere between 9 and 10 inches. Yes, it is the perfect weather for creating fun fold cards and I have a super easy one for you today.

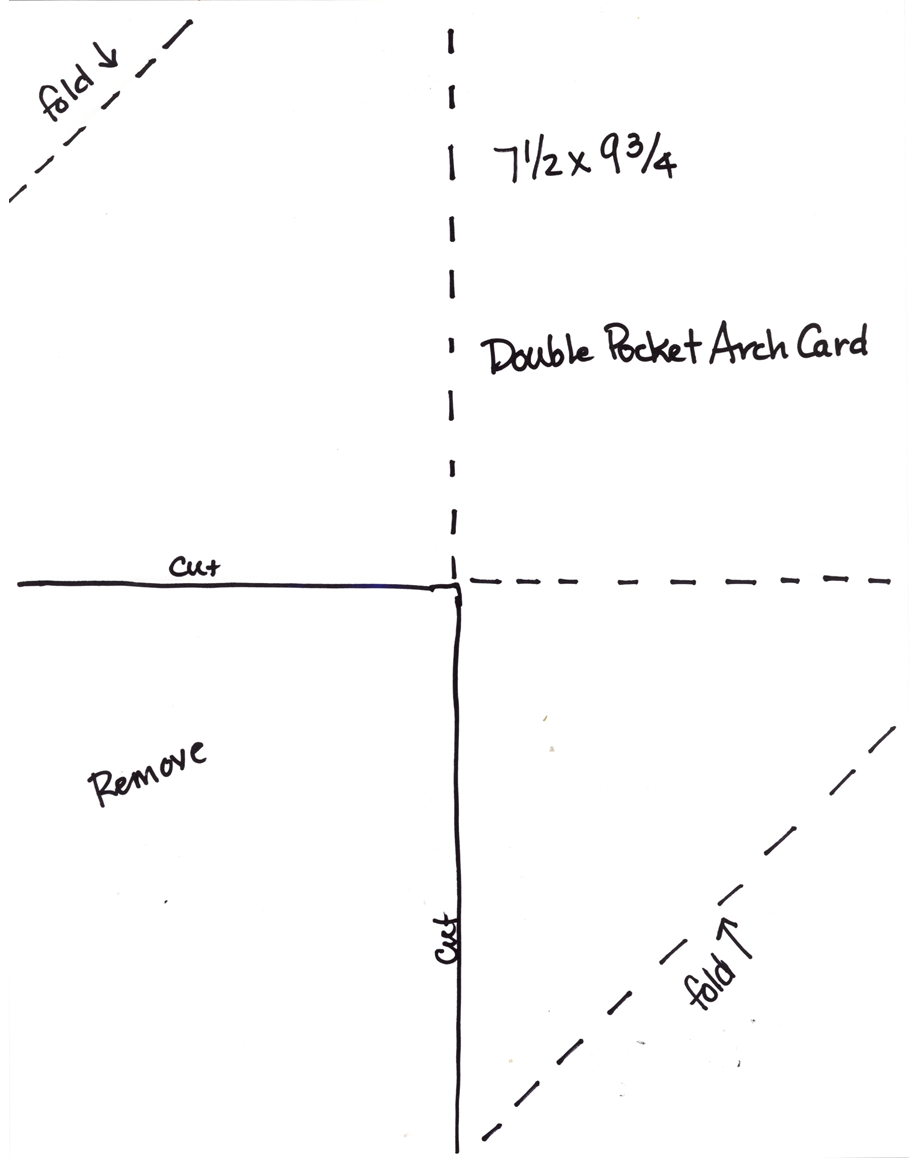
This is such a fun and totally easy card but it sure does pack that wow factor. It really does not take much DSP at all, but the end result is fabulous. Be sure to download your free project sheet with all the correct measurements. If you watch the video then you will know I was on the struggle bus with my measurements, but I promise, the project sheet is correct.
Let’s take a closer look:


Don’t forget to download your free project sheet!
I hope you find this card as easy and fun to create as I did. Be bold and play around with some different patterned paper. Happy Stamping!
Thanks for stopping by!
Until next time, be blessed, Renae


#82 Weekly Wednesday ~ Super Easy Fun Fold Card Read More »


