
Make It Monday #189 Part 2 One Sheet Wonder Series
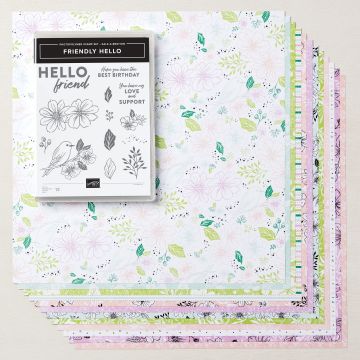
Hey friends, I am back with part two of our three part series of how to cut and create 8 cards using just one piece of 12 x 12 patterned paper. This One Sheet Wonder, OWS for short, is great because you will use every inch of your designer series paper with absolutely no waste. Click here if you missed part one where I shared with you cards #1 and 2.
Today’s video include how to create cards #3, 4, and 5. I hope you enjoy this video and it inspires you to go through your stash of 12 x 12 designer series paper. Be sure to subscribe to my you tube channel so you don’t miss any future videos.


A Closer Look


Happy Stamping! Have fun switching up the designer series patterns to create cards for all occasions. Don’t forget to download the free project sheet with measurements and instructions.
Thanks for stopping by!
Until next time, be blessed, Renae
Host Code: QCBYKQR7


Make It Monday #189 Part 2 One Sheet Wonder Series Read More »


